Swapping out old windows doesn’t have to be overwhelming. With the right plan and a little know-how, you can tackle window replacement like a pro. Whether you’re chasing energy savings, a fresh look, or better functionality, the right windows can completely transform your space.
Let’s dive into how to pick the perfect windows and what you need to know to get the job done right.
Types of Windows for Replacement
Not all windows are created equal, and the type you choose can make all the difference. Here’s a breakdown of the most popular styles and what makes them shine.
Double-Hung Windows
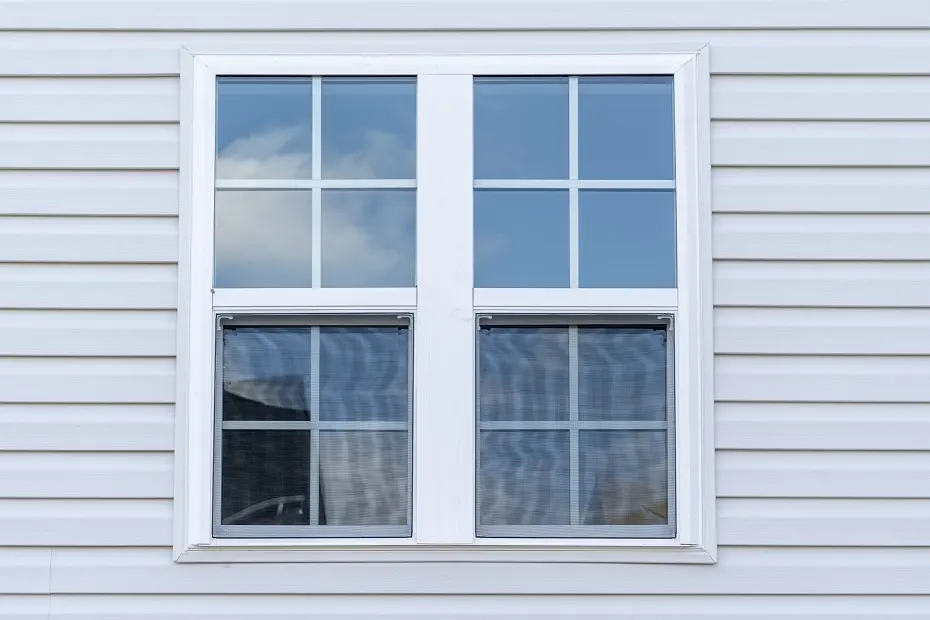
Double-hung windows feature two sashes that slide vertically, making them incredibly versatile. They’re easy to clean, provide excellent ventilation, and fit seamlessly into most home designs. Whether your style is traditional or modern, these windows are a reliable choice.
Tilt and Turn Windows
Tilt-and-turn windows are the Swiss Army knife of window styles. They tilt inward to allow for gentle ventilation or swing wide open for maximum airflow. Perfect for a sleek, European-inspired look, these windows blend style with practicality.
Custom Windows
Have a unique vision? Custom windows bring your ideas to life. Whether you’re after unusual shapes, tailored sizes, or specific energy-efficient features, custom windows deliver personalized solutions that perfectly match your home’s design.
Bay and Bow Windows

Bay and bow windows extend outward from your home’s exterior wall, creating a beautiful, light-filled nook. Bay windows typically consist of three panels, while bow windows feature four or more for a curved, elegant look. They’re ideal for adding architectural interest and boosting natural light.
Picture Windows
If you’re looking for a way to highlight breathtaking views, picture windows are the way to go. These large, fixed windows maximize natural light and offer an unobstructed view. While they don’t open, they make a stunning focal point in living rooms or dining areas.
Garden Windows
Garden windows project outward to create a small greenhouse-like space. Perfect for herbs, plants, or even decorative items, these charming windows are often found in kitchens and provide a unique, functional feature.
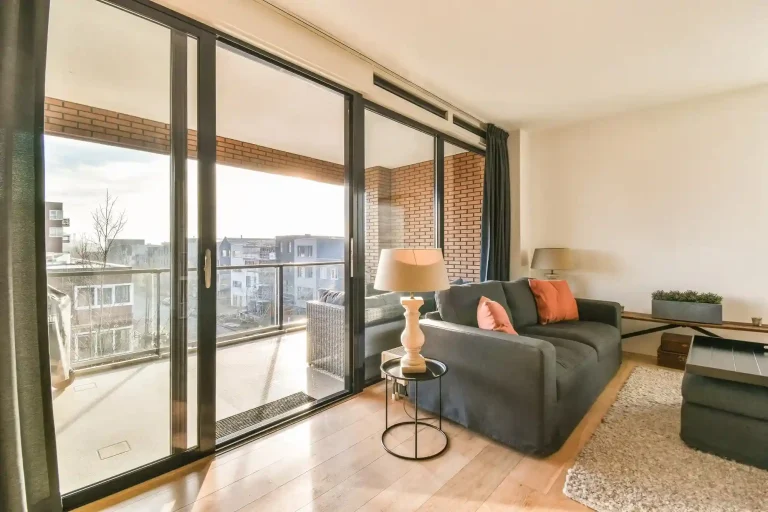
Sliding Windows

Sliding windows operate horizontally, making them a space-saving solution for tight areas. Their clean, modern lines and easy operation make them a practical choice for bathrooms, kitchens, or other areas where space is at a premium.
Tips to Choose the Right Windows for Replacement
Finding the perfect replacement windows doesn’t have to be complicated. Keep these factors in mind to make the right choice:
- Energy efficiency: Look for features like Low-E coatings, insulated glass units (IGUs), and gas fills such as argon or krypton. These options help reduce heat transfer and lower your energy bills. The window’s U-factor (a measure of heat transfer) is an essential indicator of efficiency for your specific climate.
- Materials that last: Opt for durable, weather-resistant materials like vinyl, fiberglass, or clad wood. Vinyl windows are affordable and require minimal maintenance, while fiberglass offers superior insulation and durability. Factor in the long-term cost of maintenance when choosing materials.
- Style that complements your home: Match your windows to your home’s architectural style. Double-hung windows are versatile and timeless, while tilt-and-turn windows add a modern, functional touch. Custom windows can bring unique designs to life and match specific architectural details perfectly.
- Precise measurements are key: Inaccurate measurements can cause installation headaches, drafts, and potential damage to your home. If you’re not confident in your measuring skills, don’t hesitate to consult a professional.
From energy-efficient upgrades to custom designs, Aurora Windows & Doors has the expertise to make your project seamless. Reach out today for a free consultation and start your window transformation!
or call us(847)-582-1101
Choosing the Right Window Replacement Option: Full-Frame or Insert
There are two types of window replacement: full frame replacement and insert replacement. To determine which option is appropriate for your case, carefully inspect your windows. Here’s what to consider:
- Frame condition: Are your window frames warped, rotten, or damaged? If so, a full-frame replacement is the way to go. Use a utility knife to check for rot, especially in older wooden frames.
- Size and shape: Do you want to change the size or shape of the window opening? This will require a full frame replacement. Take precise measurements of your window opening.
- Energy efficiency: Drafty windows? Full-frame replacements are the best choice for improving energy efficiency. You can also add storm windows to enhance insulation and reduce energy costs.
- Lead paint: If your home was built before 1978, lead paint might be present. Always consult a professional before attempting DIY work involving lead paint.
Windows typically last about 20 years. If your windows are older or show visible wear, it’s time to consider an upgrade for improved comfort and aesthetics.
Full-Frame Window Replacement: Step-by-Step Process
For a complete overhaul, full-frame replacement offers the most thorough update. Follow these steps to ensure a successful installation:
Preparation: Tools & Materials You May Need

Protect the floor and surrounding areas from damage. Carefully measure the rough opening to ensure the new window fits correctly. If dealing with old windows, check carefully for lead paint Regardless of the chosen method, you’ll need these basic tools:
- Level
- Crowbar
- Hammer
- Screwdriver
- New window
- Galvanized screws
- Foam insulation
- Felt paper
- Gaskets
- Window film
- Nails
- Safety glasses
- Work gloves
Remember to always prioritize safety and take necessary precautions, especially when working with old windows or lead paint.
Removing the Old Window

Carefully remove the interior and exterior trim with a crowbar or flat-head screwdriver, taking your time to avoid damaging surrounding areas. Detach the old window from its frame, paying close attention to how the movable parts are secured so you can replicate the process if needed.
Thoroughly clean the window opening, ensuring all old caulk, debris, and obstructions are completely removed to create a smooth surface for the new installation. Use a level to check that the window opening is square and plumb. Make any necessary adjustments to ensure the new window fits properly and operates smoothly.
Install the New Window Frame
Place the new window frame carefully into the window opening, ensuring it is level and plumb. Use shims to adjust the frame for a snug, even fit if necessary. Seal any gaps between the frame and the window opening with expanding foam to prevent drafts and improve energy efficiency. To protect against water damage, consider adding flashing tape along the edges.
Install the sashes, aligning the upper and lower sashes precisely. Ensure the sashes slide or tilt smoothly and that the lock mechanism functions correctly.
Install the Trim

After the window is installed and the expanding foam has dried (typically about 24 hours), remove any excess foam for a clean finish. Apply caulk along the edges of the window frame to create an airtight seal. Reinstall the interior and exterior trim, securing it with screws or nails. Make necessary adjustments to ensure the trim is perfectly flush with the casing and use a level to confirm alignment.
Once the caulk has dried, paint the trim to match your existing décor. Double-check that the sashes operate smoothly and all movable parts function properly.
Insert Window Replacement: A Short Guide
Insert replacements are simpler and less disruptive than full-frame replacements. Here’s a quick breakdown:
- Preparation: Protect the surrounding area and measure the existing window to ensure compatibility with the new insert.
- Removing the old sash: Take out the old sash and glass from the existing frame.
- Installing the new insert: Fit the new window unit into the existing frame, ensuring it is level and securely installed.
- Caulking and finishing: Apply caulk around the edges to create a tight seal.
While less complex than full-frame replacements, precise measurements and careful installation are critical for ensuring a proper seal and long-term performance.
DIY vs. Professional Window Replacement
Replacing your windows is a significant home improvement project. While a DIY approach may save money upfront, professional installation has distinct advantages. Here’s how they compare:
| Feature | DIY Window Replacement | Professional Window Replacement |
|---|---|---|
| Upfront Cost | Lower | Higher |
| Time Required | Significantly longer | Significantly shorter |
| Skill Required | Basic carpentry skills; experience helpful | Specialized skills and expertise |
| Warranty | Limited to window product warranty only | Typically includes labor and materials warranty |
| Overall Quality | Potential for errors; lower quality | Higher quality; precise installation |
DIY offers lower costs but requires time, skill, and tools, with the risk of errors that could lead to drafts or leaks. Professional installation, while more expensive, provides a precise fit, optimized energy efficiency, and peace of mind with warranties.
If you’re unsure which route to take, Aurora Doors & Windows is here to guide you. Whether you opt to install the windows yourself or choose our professional installation services, we’ll ensure your windows meet your needs perfectly.
Let Aurora Windows & Doors Make Your Home Shine
Your windows do so much more than let in the light — they set the tone for your home’s comfort, style, and efficiency. Choosing the right replacements shouldn’t feel like a chore. At Aurora Windows & Doors, we make it easy to find windows that match your needs and elevate your space.
Our team uses high-quality materials and expertise to deliver windows that are built to last. Ready for an upgrade? Contact us today for a free consultation and let’s get started!

Upgrade Your Home with New Windows
Improve energy efficiency, style, and comfort. Contact Aurora for a free consultation and discover the possibilities.